A “black screen” Commodore 64 lands on the bench in this detailed repair walkthrough from The Bit Culture. No flicker, no power LED, not even a startup hum—this one’s completely silent. But silence doesn’t mean the story is over.
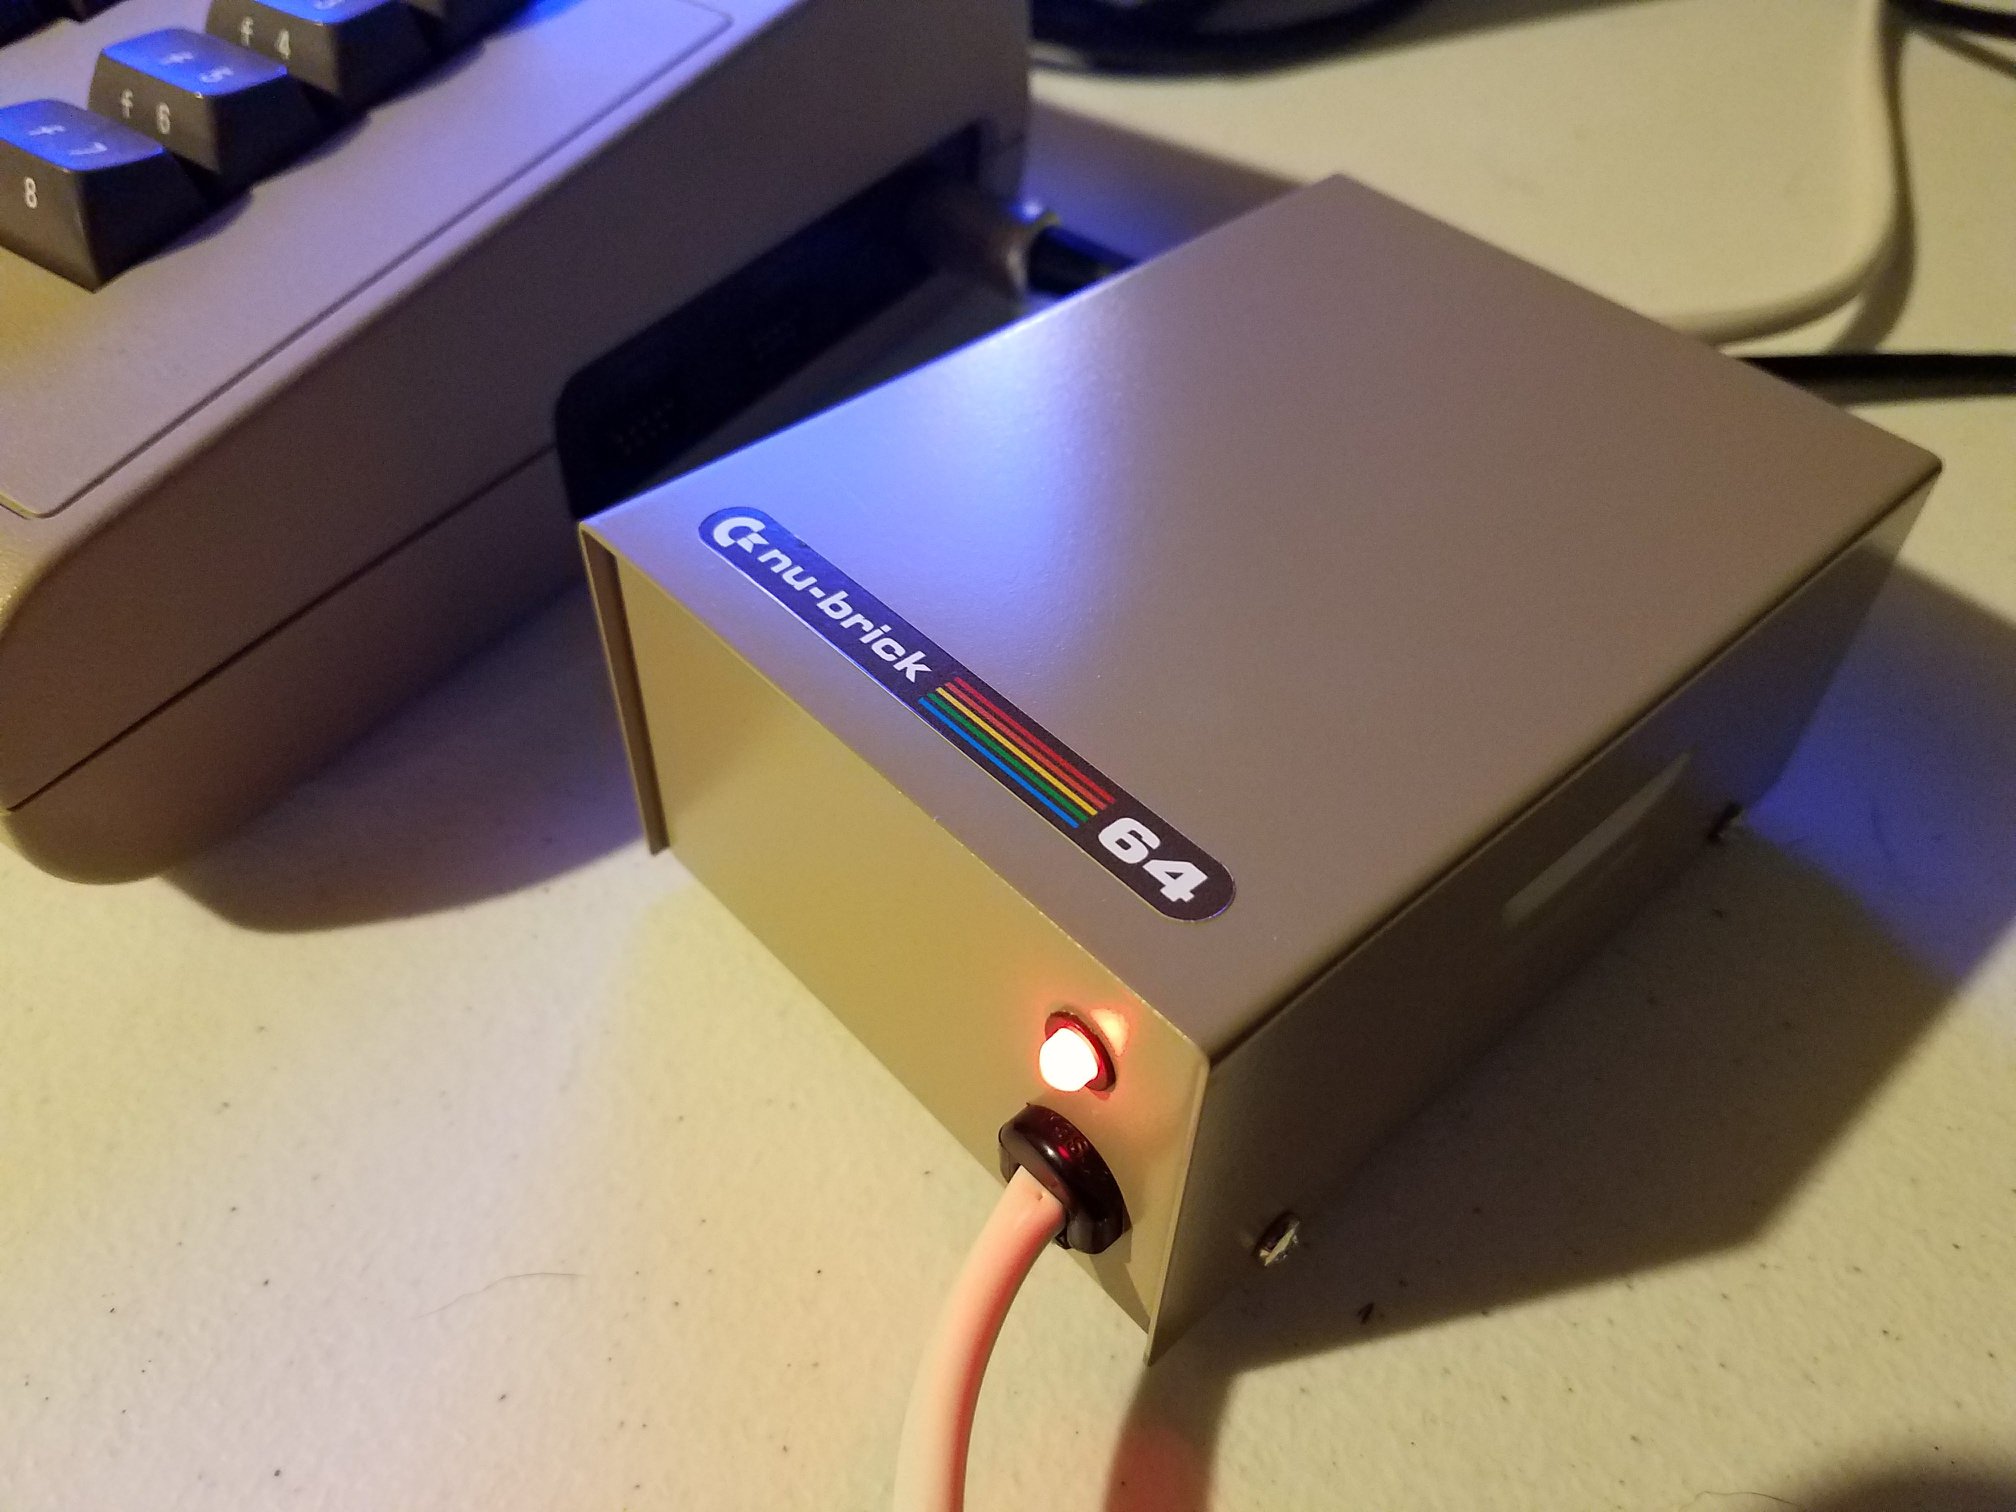
The first step is power. The supply checks out, so attention turns to the board itself. A blown fuse is the first real clue. Instead of swapping it blindly, the host inspects for shorts, corrosion, and faulty components that might’ve caused the blowout. Diodes, voltage regulators, and continuity tests all play a part in tracking the issue. After careful checks, a new fuse goes in—no smoke, no drama. But still no joy.
A dead power switch turns out to be the next villain. After cleaning the contacts and verifying continuity, the voltage returns. Now the board is alive, at least electrically. The video and audio chips are reinstalled with care. Video comes back first—great news. The Commodore 64 black screen issue is no longer black. But the SID chip is gone. Toasted. Thankfully, a replacement brings the machine’s audio back. SID voices once again fill the bench.
With repairs finished, it’s time to clean. This isn’t just a casual dust-off. Every keycap comes off for deep cleaning. The case is treated gently using safe cleaners and alcohol. Harsh chemicals are off-limits to preserve the machine’s original texture and tone. The once-forgotten computer now looks, sounds, and runs like it should.


