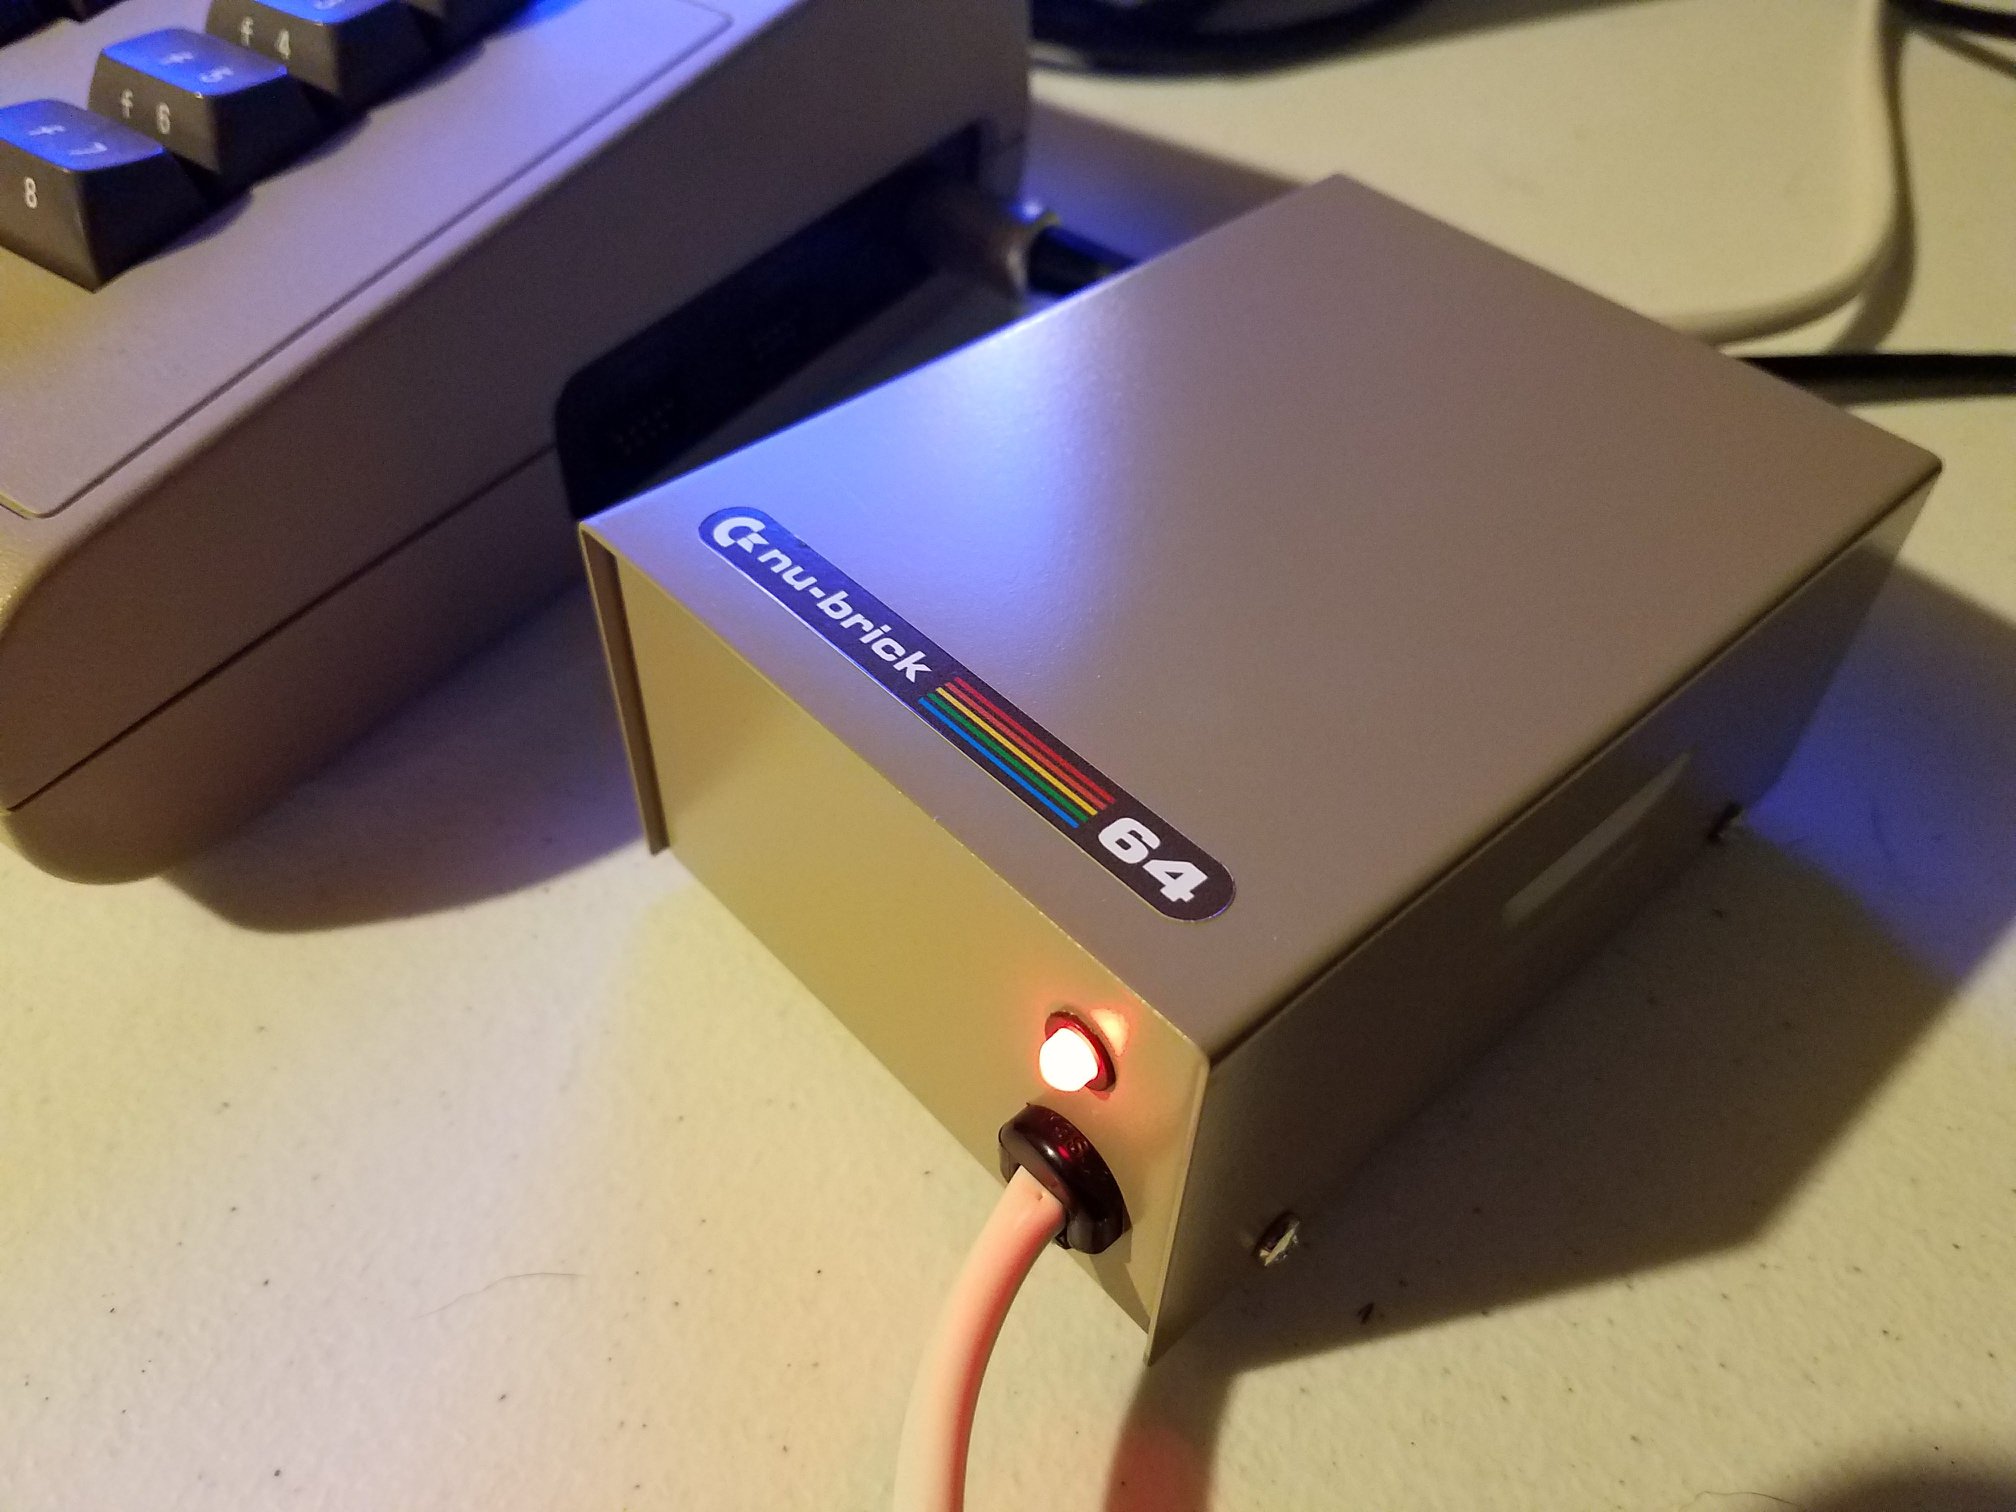
Old Commodore 64 hardware often suffers from failing parts, especially the power supply. In his latest video, Chicken 64 shows a DIY C64 PSU fix that uses a simple USB charger to replace a broken 5V circuit. This method is practical, affordable, and restores function to supplies that would otherwise be discarded.
Opening and Inspecting the PSU
The project begins with opening a C64 power supply that has a dead 5V rail. Using careful prying tools, Chicken 64 cracks the sealed case without damaging it too much. Inside, the minimal design becomes clear—Commodore famously cut costs on PSU builds. After exposing the fuse, transformer, and regulator, he runs voltage checks. The 9V AC line works fine, but the 5V regulator fails, producing only 2.7V.
Replacing with a USB Charger
Next, he introduces a modern USB charger as the replacement. After sawing open its case, the small circuit board is ready to install. Conveniently, it fits inside the PSU shell. Unlike the original design, the USB board includes proper safety features. He solders the wires directly to the mains input and routes the 5V line to the output connector.
Testing and Safety Checks
With the unit reassembled, testing begins. On both a bench setup and a real Commodore 64, voltage remains stable. The machine runs reliably, even during extended use. Importantly, the USB circuit shuts down during short-circuit tests, then restarts once cleared. That built-in safety adds confidence to the repair. He also mentions that adding a varistor could further protect the design in future projects.
A Second Life for Old Hardware
Finally, the power supply that once failed now works as a dependable spare. This DIY C64 PSU fix shows how retro enthusiasts can repurpose everyday parts instead of discarding old gear. By following similar steps, hobbyists can extend the lifespan of their Commodore systems while keeping them safe and reliable.


