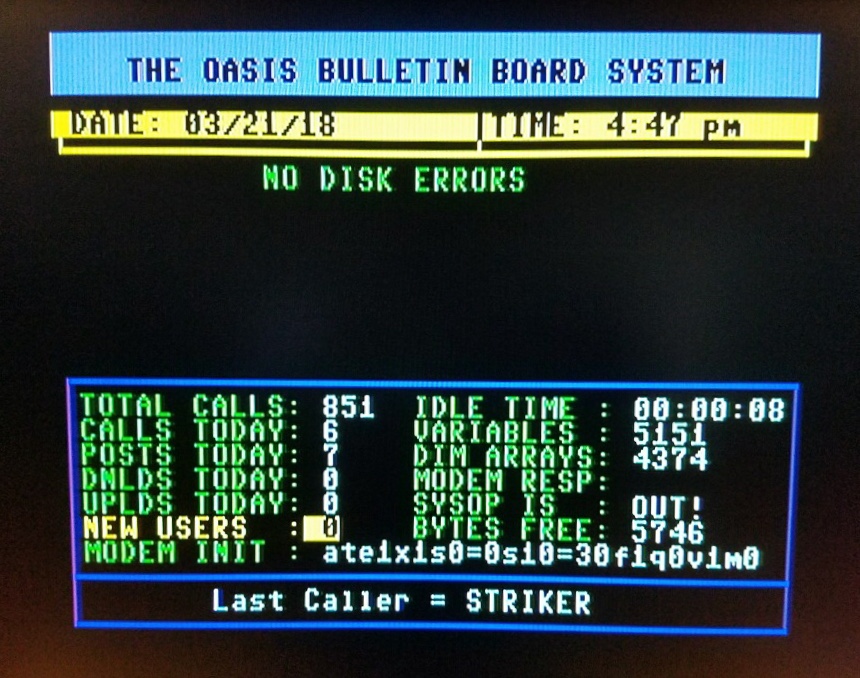
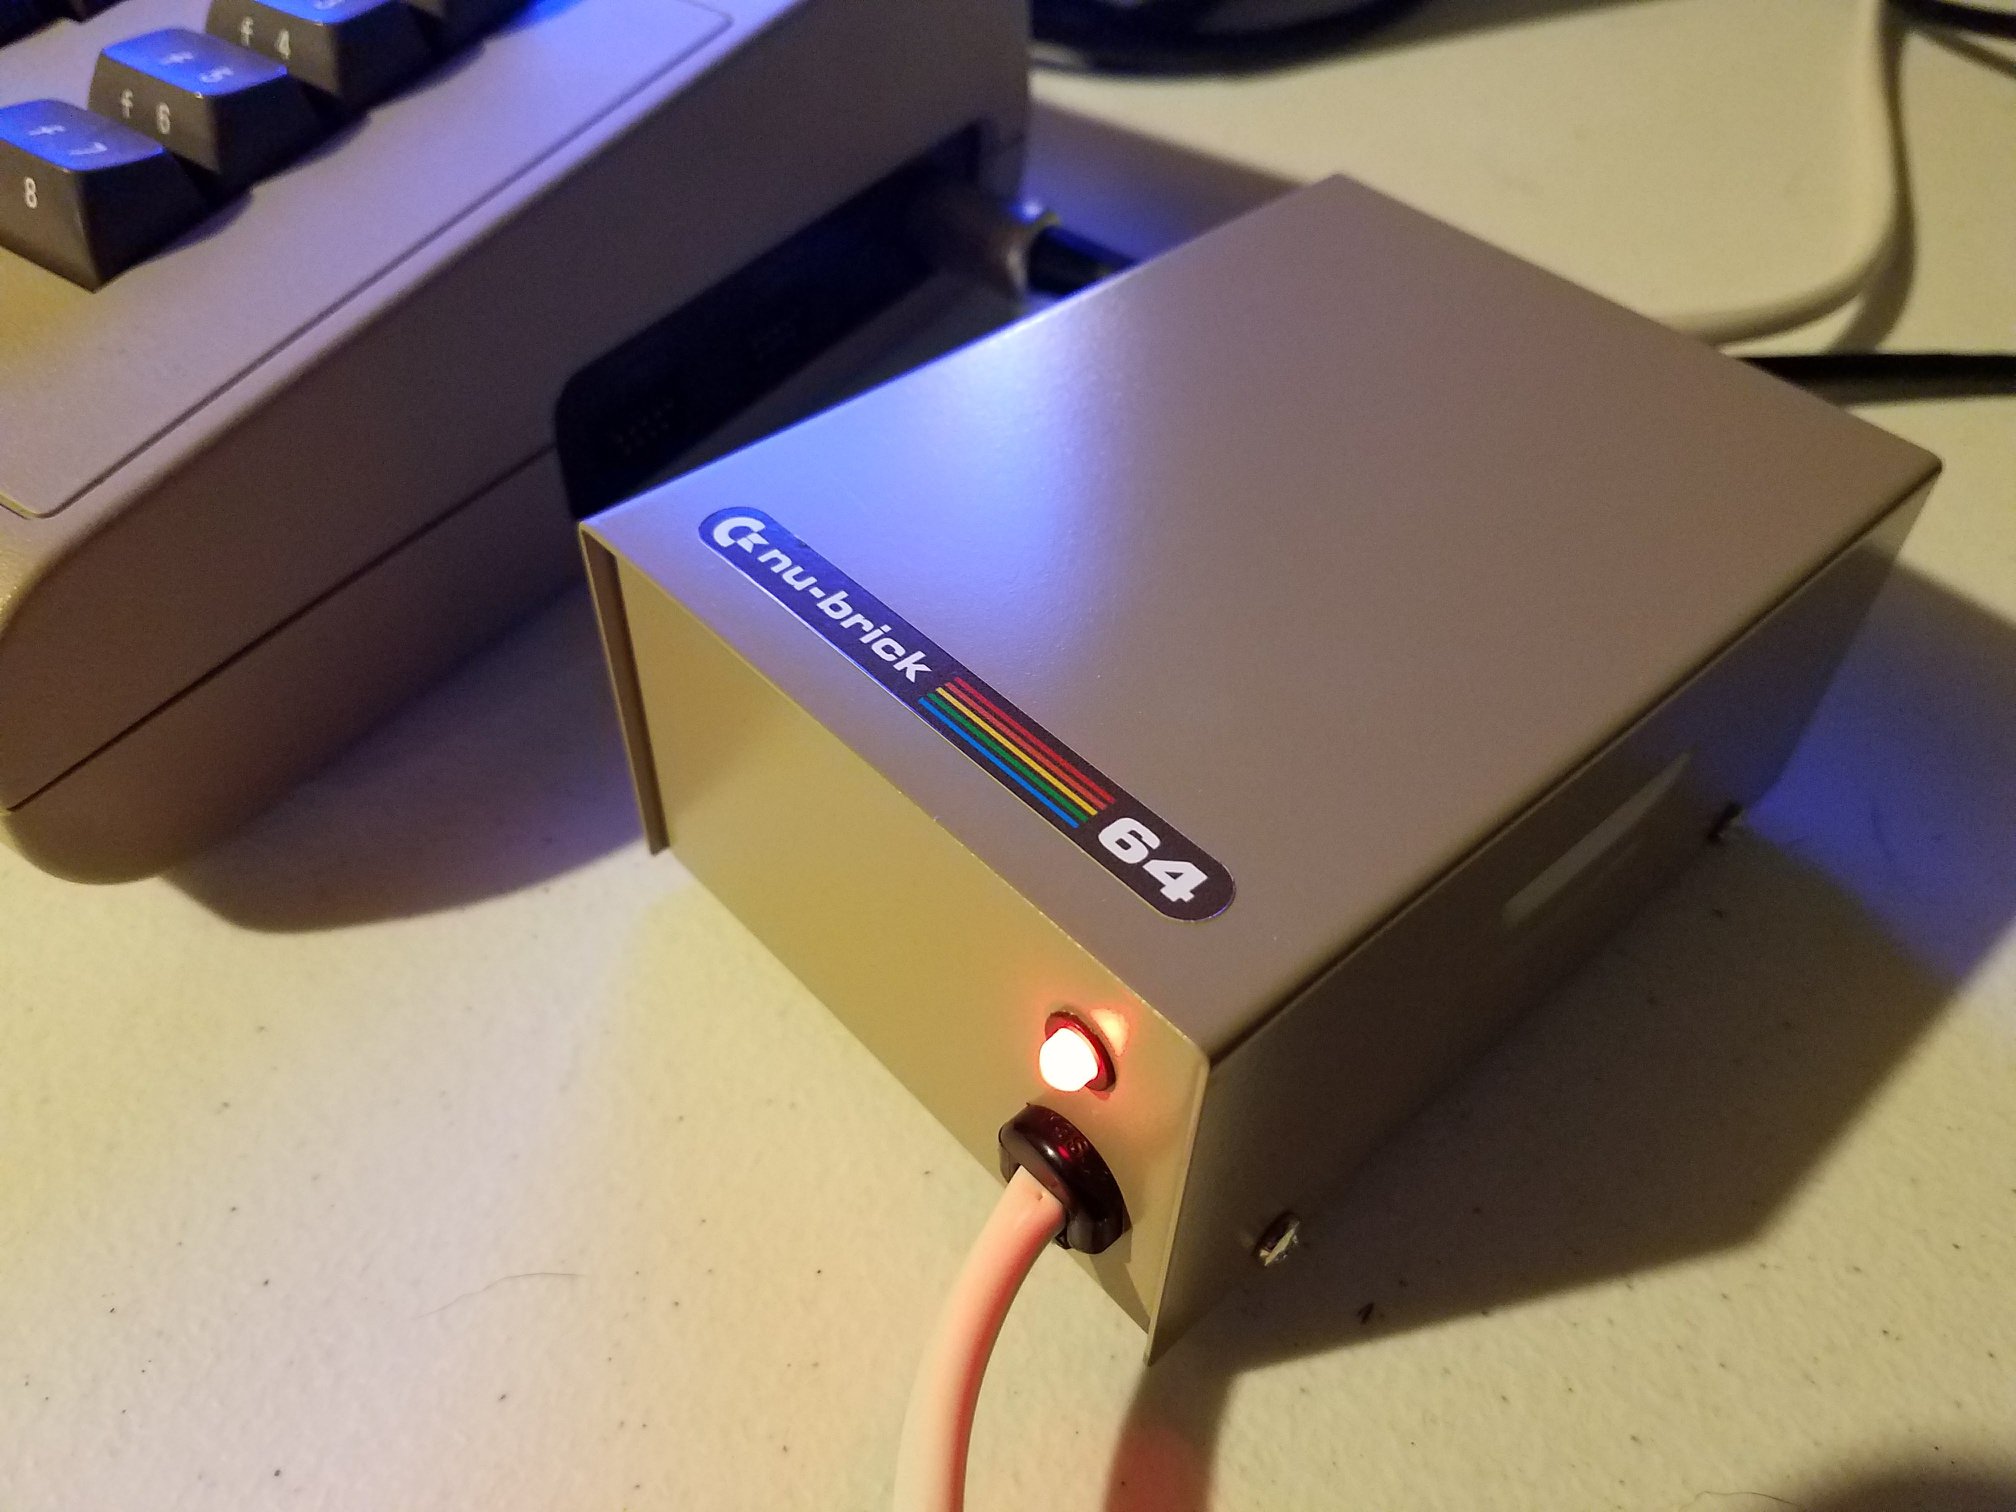
In this episode of 8Bit Retro ReFix, the hosts demonstrate how to create a Commodore 64 cartridge. Most of the boards shown are available from PCBWay, and the video description contains links to the PCBs, the OneLoad64 pack, Magic Desk BIN files, and the GitHub page for jumper settings. Note that there is a jumper setting (JA17) mentioned in the video: bridge the left two pads of the three (JA17) (I I-I).
For those who prefer not to make their own cartridge, there is an option to purchase one directly. Interested viewers can contact the host via email provided below the video.
C64 Magic Desk 512k Cartridge
Description:
This hardware component is part of the Magic Desk Cartridge Generator project, available at Bitbucket.
The PCB is designed to accommodate various types of EPROMs and their FLASH variants. The smallest EPROM compatible is the 27C512 (64Kb), and the largest is the 27C040 (512Kb). There is also an option to expand the board to a full 1Mb.
The PCB can fit various cartridge cases, including original Commodore cases and cases from Polish companies KRADEX / MASZCZYK, which are available from some European retailers. It also fits in a 3D-printed case model from Thingiverse. However, it has not been tested with cartridge cases from Individual Computers, TFW8B, Shareware Plus, or other currently available cases. Please note that the cartridge cases from KRADEX / MASZCZYK are “low profile,” so an EPROM socket cannot be used with these cases.
Components Needed:
– 1x 74LS02
– 1x 74LS273
– 1x EPROM (from 27C512 to 27C040 or their FLASH/EEPROM variants)
– 1x (Optional) Tact Switch (6x6mm, horizontal or vertical)
For more details, visit the PCBWay project page.
StatMat’s Vidz:
The OneLoad64 Games Collection V5 download link is available in the video description, including Magic Desk BIN files.
GitHub PCB Instructions:
Available at GitHub.


